
Paleo Fermented Pickles – Whole30, GAPS, Sugar-Free
Last Updated on February 28, 2026 by Kayla Ruetten
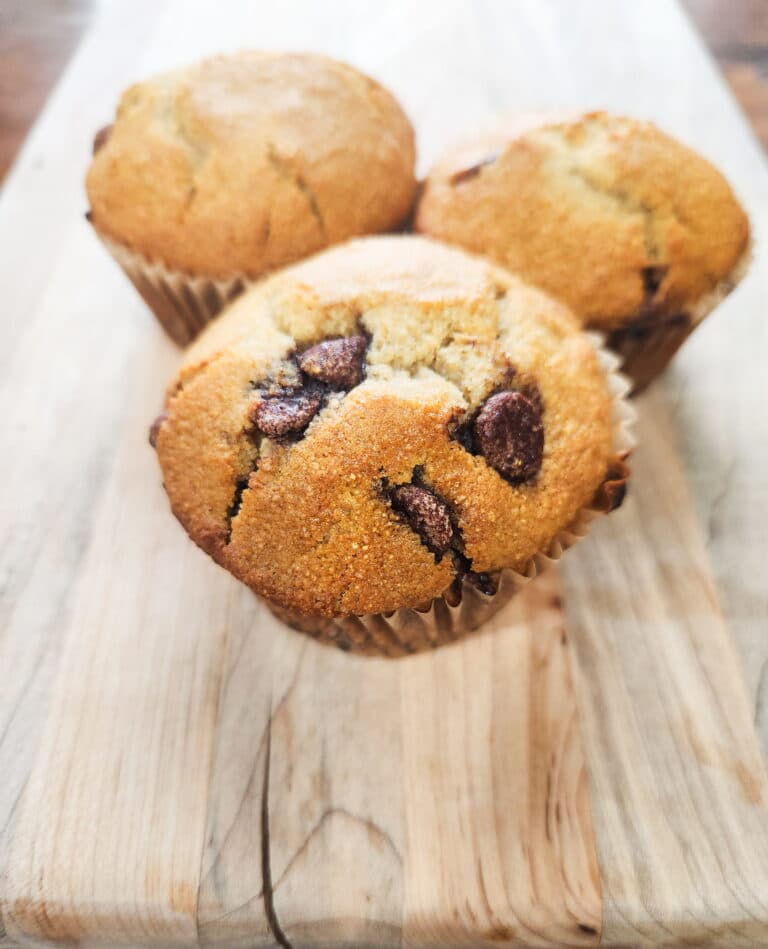
Sometimes only a crunchy, salty pickle will do. These Paleo fermented pickles are super easy to make for a delicious snack or as a side dish to any meal! We eat these on salads, burgers, scrambled eggs, and pretty much any meat. The kids eat them by the forkful plain! Learn how to make these easy paleo fermented pickles in just a few minutes.

Health Benefits of Fermented Foods
These paleo/whole30/gaps diet fermented pickles are packed with healthy probiotics and do not have any sugar, citric acid, preservatives, or natural flavoring. When foods are fermented, they become rich in gut-healthy probiotics, or healthy bacteria. When we eat these traditional foods, we help ensure our gut and immune systems are healthy. According to some experts, one drop of homemade fermented vegetable brine contains millions more probiotic bacteria than commercial probiotics do!
Are Fermented or Raw Vegetables Healthier?
In the process of fermentation, bacteria feed on the natural sugars and starches in the food, creating lactic acid, enzymes, minerals, vitamins, and probiotics. Fermenting foods helps preserve their nutrition and make them easier to digest. Another benefit of fermented foods is the breakdown of phytic acid or oxalates in certain foods, which are hard for our bodies to digest.
Regular consumption of fermented foods can help improve mental health, lower inflammation, balance the immune system, and even help with weight loss management. Fermented foods are a huge part of the GAPS diet which has helped our family heal from food allergies.
What Vegetables are Best to Ferment?
You can ferment just about any vegetable. All you need are the vegetables, high quality sea or rock salt, and water. Fermented carrots and fermented dilly beans are two of our family’s favorite fermented veggies. Using hardier/firmer veggies, such as carrots, cabbage, beans, onions, beets, garlic, etc. are great options.
Our favorite non-veggie ferments are milk kefir and sour cream; these add in different strains of healthy bacteria than fermented veggies do.

How to Ferment Vegetables
Simply put, add vegetables, salt, and water to sanitized glass jars. Some people also use large fermentation crocks. Historically, people even used wooden barrels. I find glass mason jars with airtight lids to be the simplest and easiest option. I like making smaller batches, like quart or half gallon sizes, so less is wasted if one of the jars gets spoiled or moldy. These sized containers also store easily in the pantry and in the fridge when they are ready to eat or when I am ready to slow the fermentation speed. The hotter the weather/house temperature, the more quickly vegetables will ferment. We like to move ours to the basement where it is cooler. This allows a slower fermentation process and the veggies tend to stay more crunchy.
Encouraging Children to Eat Fermented Vegetables
Our children eat fermented veggies by the cupful. When they start eating them as babies, they develop a taste for them. If you have a picky eater, or are trying to incorporate more fermented foods at a later age, do not be discouraged! Most children seem to enjoy fermented foods, even if they are a newer food group. We have also found these tips helpful to introduce them:
- Ask your children to help you ferment the cucumbers! They will be excited to spend time with you in the kitchen, and research shows children who help cook are more likely to eat healthy and be less picky eaters.
- Explain the “battle” between good and bad bacteria. Children always want the good guys to win! They will rise to aid the soldiers fighting for their good health when they imagine a victorious digestive system (silly, but true…at least in our home!).
- We make conversations about healthy eating and living a regular part of our family dialogue. This helps children understand we eat for nourishment, not just taste (though they often go hand in hand!).

Paleo Fermented Pickles – Whole30, GAPS, Sugar-Free Recipe
Equipment
- mason jars
- plastic mason jar lids
- chopping knife
- cutting board
Ingredients
- 1 tsbp sea or rock salt (we use this high mineral brand)
- 2-6 pcs fresh cucumbers, preferably pickling variety, but any will work (the amount of cucumbers needed will vary based on size)
- 1 quart water (filtered)
- 4-6 cloves fresh garlic (optional)
- 1/4 cup fresh dill or 1 tsp dried dill (optional)
Instructions
- Wash cucumbers and mason jar thoroughly.
- In a clean jar or container, stir salt into the filtered water until dissolved.
- Pack the whole or sliced cucumbers into a clean quart jar, leaving about 1 inch of head-space at the top. If you are adding garlic or dill, pack these into the bottom of the jar first.
- Pour the salt water brine over the cucumbers, ensuring the cucumbers are completely covered with brine.
- OPTIONAL: Use a large cabbage leave or fermentation weight to ensure cucumbers are completely submerged and none are floating. This can help prevent mold growth.
- Wipe the rim of the jar clean and screw plastic lid on tightly.
- Allow the cucumbers to ferment for up to 2-3 weeks at room temperature. The longer they ferment, the tangier/more fermented they become. Our kids prefer a shorter ferment. To slow the ferment, simply store in a cool place, such as a cellar, basement, or fridge. Fermentation will be more rapid in hotter weather or temperatures.
Notes
-
- We love adding fresh garlic to this recipe. If you are starting with very picky eaters, consider trying just the salt water brine first and slowly add in garlic in future recipes. Our kids do love the garlic as well!
-
- Adding dill makes more of a “pickle-y” flavor. You can also add pickling spices.
-
- It is completely normal for fermented foods to look “cloudy” as fermentation takes place.
-
- Using a fermentation weight can help weight down the cucumbers/prevent them from floating up in the jar. If the cucumbers are not submerged in the brine, they will get moldy. If you do not have a fermentation weight, you can use a large cabbage leaf or pack the cucumbers tightly enough under the curve of the jar to make sure they do not rise above the brine solution.
I hope you and your family enjoy this recipe as much as we do! Please let me know your feedback and favorite recipe variations in the comments.
Resources
Posts
What is the GAPS Diet – An Easier Explanation
How to Make Fermented Carrots (That Picky Eaters Love!)
Fermented Dilly Beans
How to Make Milk Kefir
GAPS Diet Milk Kefir Ice Cream
How To Cure A Dairy Allergy or Sensitivity With the GAPS Diet
Favorite Books
Gut and Psychology Syndrome
GAPS, Stage by Stage, With Recipes
Gut and Physiology Syndrome
Shop This Post
This post contains affiliate links, which means I may make a small commission at no extra cost to you. See my full disclosure here.


These sound so easy to make and delicious! I really like no-sugar recipes!
Love a good, healthy pickle recipe! So tasty.
Yum! Excited to try this!
We love fermented pickles with our meals. They are so easy to make!